Crack the Code: Indian Visa Appointment Scheduling Demystified
Planning Your Indian Visa
Planning is a crucial step in ensuring a smooth Indian visa appointment scheduling process. Understanding the importance of applying early and learning about processing timeframes can save you from unnecessary delays.
Importance of Early Application
Applying for your Indian visa early is essential to avoid the last-minute rush and potential issues that may arise. The Indian Government has implemented significant changes to its visa policy, including the eVisa system, offering convenience and security for travelers (Visa Online India).
Advance travel planning and early visa application are especially important for nonimmigrant visa applicants (Travel.State.Gov). Not all visa applications can be completed on the day of the interview. Early application ensures that even if there are delays or additional information is needed, there is ample time to address these issues before your travel date.
Processing Timeframes
The processing time for an Indian visa varies based on the type of visa and the applicant’s nationality. Generally, the Indian Mission/Post requires a minimum of three working days to process the visa application and issue a visa. However, this timeframe can be longer depending on special cases or additional scrutiny (Indianvisaonline.gov.in).
| Visa Type | Minimum Processing Time |
|---|---|
| Tourist Visa (eVisa) | 3 Business Days |
| Business Visa (eVisa) | 3 Business Days |
| Medical Visa (eVisa) | 3 Business Days |
For a detailed understanding of each visa type, you can refer to our section on types of Indian visas.
It’s also important to consider current wait times for receiving an interview appointment, especially if you’re planning to apply for a visa that requires an in-person interview. Applicants should regularly review these wait times to stay updated and adjust their plans accordingly. For more detailed information on the application process, refer to our guide on how to apply for Indian visa online.
By starting your visa application process early, you can ensure that you have enough time to gather all necessary documents required by the indian visa requirements and address any unforeseen issues. For a comprehensive checklist of documents needed, visit our Indian visa documents checklist.
Types of Indian Visas
Tourist Visa (eVisa)
The Tourist Visa (eVisa) is the most popular option for travelers visiting India for sightseeing and leisure activities. It allows visits for up to 180 days, with multiple options available ranging from 30 days to 5 years validity. Note that the 60-day visa option was decommissioned in 2020 (Visa Online India).
| Visa Type | Validity | Number of Entries |
|---|---|---|
| Tourist eVisa (30 days) | 30 days | Double Entry |
| Tourist eVisa (1 year) | 1 year | Multiple Entry |
| Tourist eVisa (5 years) | 5 years | Multiple Entry |
For specific information regarding requirements and application processes, check out our detailed guide on Indian Tourist Visa.
Business Visa (eVisa)
The Business Visa (eVisa) permits engaging in various business activities during your visit to India. It is ideal for attending meetings, conferences, or exploring business ventures within the country. This visa type is valid for 1 year with multiple entries allowed (Visa Online India).
| Visa Type | Validity | Number of Entries |
|---|---|---|
| Business eVisa | 1 year | Multiple Entry |
For more comprehensive information on requirements and application procedures, visit our page on Indian Business Visa.
Medical Visa (eVisa)
If you are traveling to India to seek medical treatment, the Medical Visa (eVisa) is the appropriate choice. This visa allows you to pursue medical treatment for up to 60 days and includes triple entry permissions (Visa Online India).
| Visa Type | Validity | Number of Entries |
|---|---|---|
| Medical eVisa | 60 days | Triple Entry |
Additional information, including specific documentation required and the application process, can be found on our Indian Medical Visa page.
Understanding these visa options is essential for scheduling your Indian visa appointment efficiently. Be sure to consider your visa type when planning your Indian visa appointment scheduling. For a full overview of available visas, visit the Types of Indian Visas page.
Applying for an Indian Visa
The process of applying for an Indian visa involves three crucial steps: completing the online application, submitting the necessary documents, and collecting your passport with the visa. Let’s go through each of these steps in detail.
Online Application Process
To start your application for an Indian visa, you need to fill out the online application form on the Indian Visa Online website. Follow these steps:
- Visit the Indian Visa Online Portal: Ensure you use a compatible browser such as Mozilla Firefox, Google Chrome, or Internet Explorer (version 9.0 and above).
- Fill Out the Form: Complete the required fields accurately. This includes personal information, passport details, and the type of visa you are applying for (e.g., tourist visa, business visa, or medical visa).
- Print and Sign the Form: Once you have filled out the form, print the completed application, and sign it. Remember to save a soft copy for your records.
Document Submission
After completing the online application, the next step is to submit the required documents. Here is a checklist of commonly required documents:
| Document Name | Description |
|---|---|
| Passport | Valid for at least six months from the date of application with at least two blank pages. |
| Printed Application Form | The form filled and signed from the online application portal. |
| Passport-sized Photographs | Follow the Indian visa photo requirements for specific dimensions and guidelines. |
| Proof of Address | Utility bills, bank statements, or other acceptable proof. |
| Supporting Documents | Depending on the visa type (e.g., invitation letter for a business visa or medical reports for a medical visa). |
You will need to submit these documents at the Indian Visa Application Center (IVAC) or directly at the Indian Mission on your scheduled appointment date. Visit the specific Indian Mission’s website for detailed document requirements and additional instructions.
Collection of Passport and Visa
Once your visa application is processed, you will need to collect your passport and visa. Here’s how to do that:
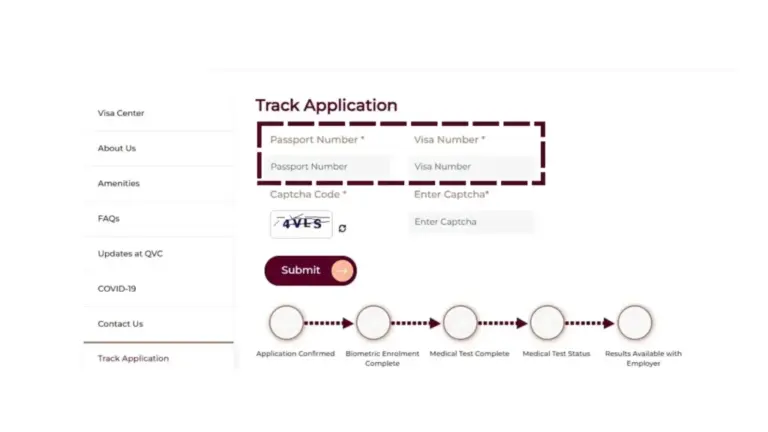
- Track Your Application Status: Use the Visa Enquiry link on the Indian Visa Online website to check the status of your application.
- Notification: You will receive a notification when your passport and visa are ready for collection.
- Visit the Collection Center: Visit the IVAC or Indian Mission from where you submitted your documents to collect your passport and visa. Carry an identification document for verification purposes.
For more detailed information on the Indian visa process, check out our comprehensive guide on the Indian visa application process.
By following these steps, you can navigate the Indian visa appointment scheduling process with confidence and ease. If you face any issues, consider reaching out to the Indian visa helpline for assistance.
Scheduling Your Visa Appointment
When planning your trip to India, scheduling your visa appointment is an essential step. Here’s everything you need to know about the booking process and location considerations for your Indian visa appointment.
Booking Procedures
Booking your visa appointment involves a few clear steps that you need to follow carefully:
-
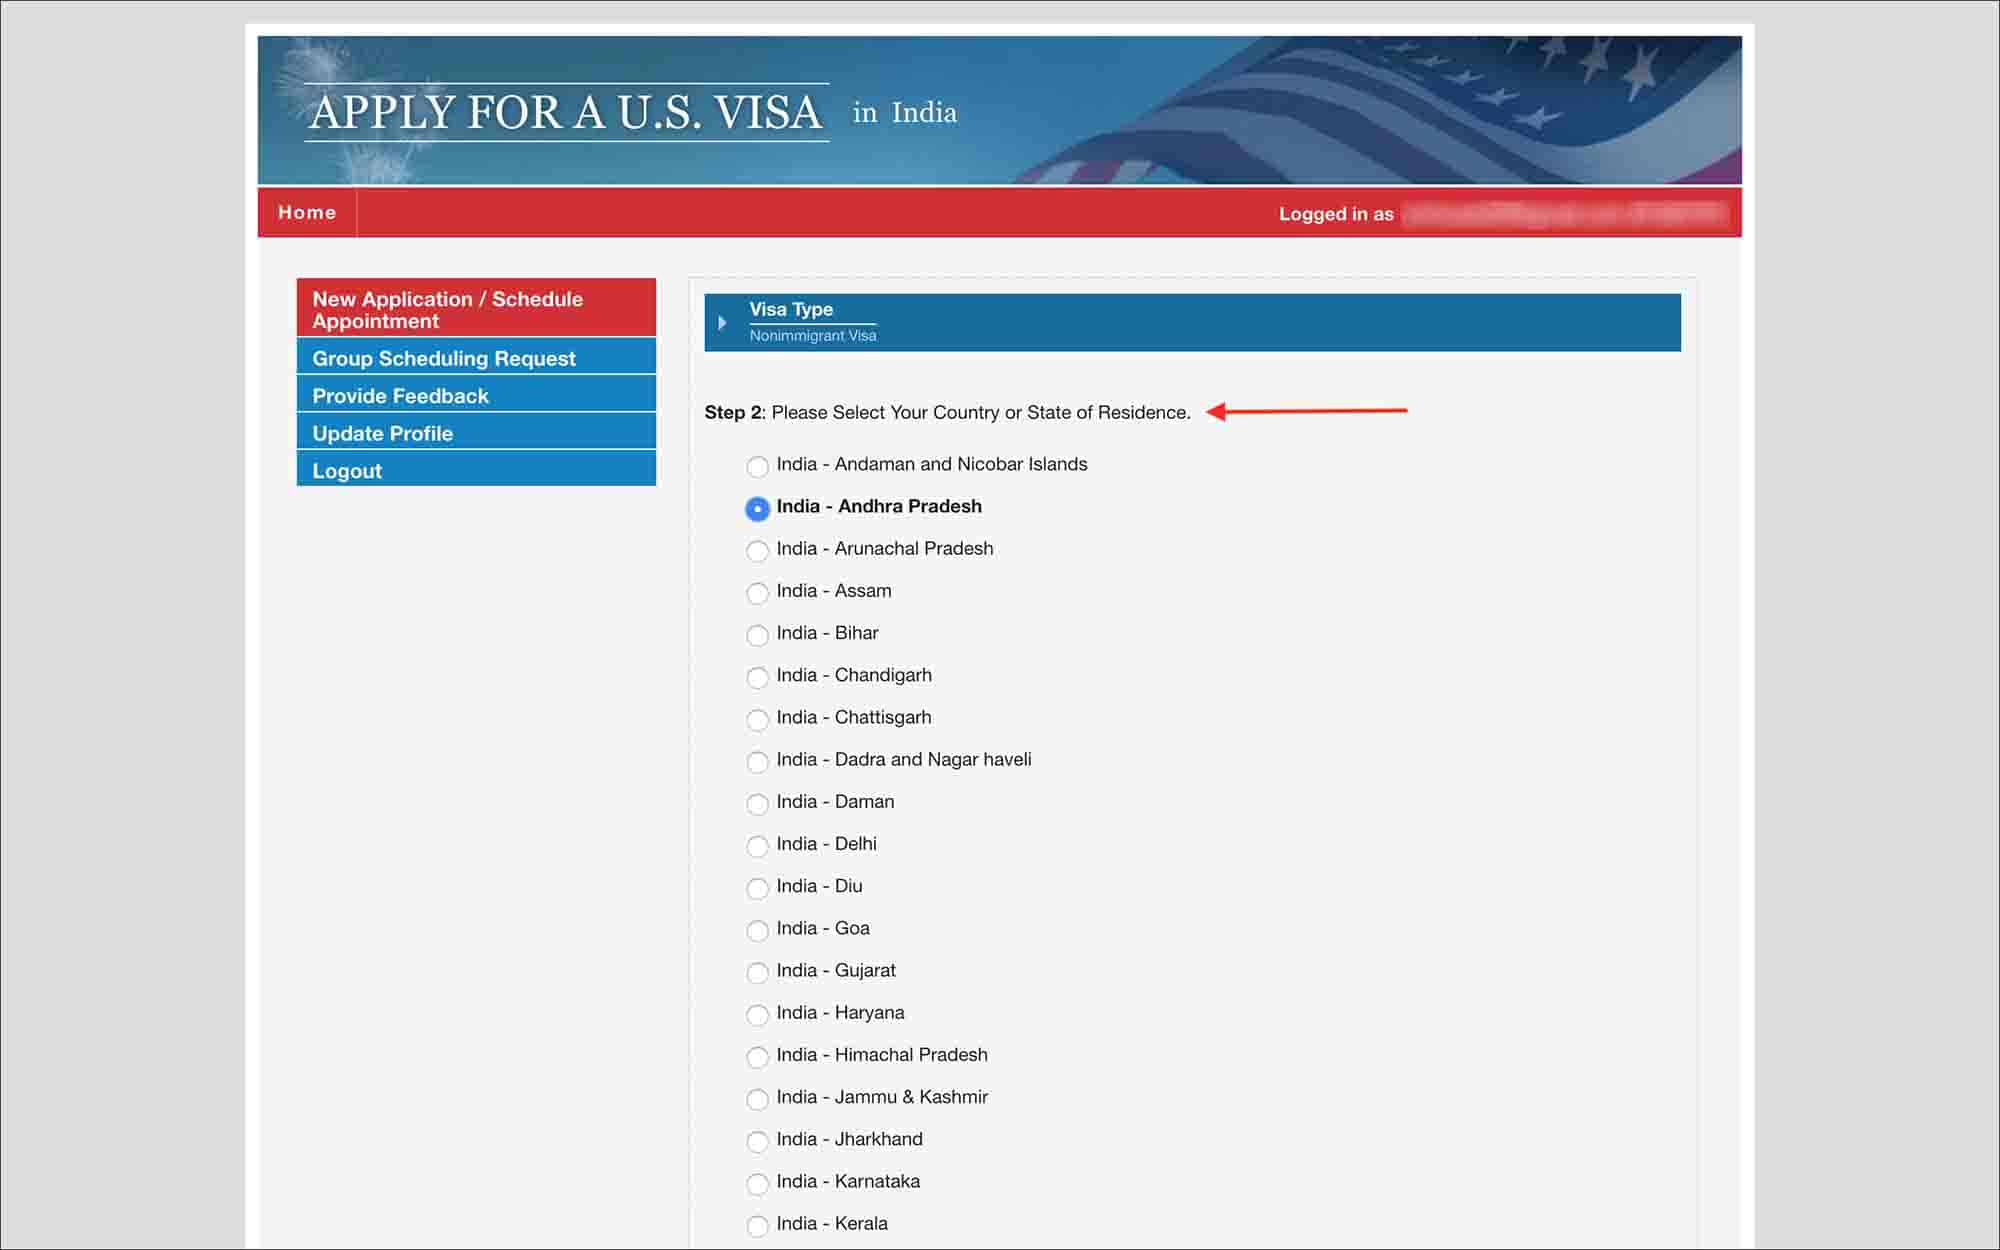
Online Scheduling: Start by visiting the Indian visa application website. Ensure your browser is compatible as the site works best with Mozilla Firefox, Google Chrome, and Internet Explorer (Windows) version 9.0 and above. For mobile users, the site supports both Android and iOS devices. For more details, visit apply for Indian visa online.
-
Create an Account: Register your details and create a user account on the visa application portal.
-
Select Available Dates: Once logged in, choose an available date that suits you. Remember to check the processing timeframes based on your visa type to avoid unnecessary delays. Refer to the article on Indian visa processing time for more information.
-
Confirm Appointment: After selecting your date, confirm your appointment. You will receive a confirmation email with the details of your appointment.
Cancellation Policy: If you have to cancel or reschedule, ensure to check the specific limitations and policies. Typically, you can reschedule up to 5 times within a year. After this period, a new payment is required (Quora). More about this is available in the Indian visa documents checklist.
Location Considerations
Choosing the right location for your visa appointment involves considering a few important factors.
-
Closest Consulate or Embassy: Generally, you should book your appointment at the consulate or embassy nearest to your place of residence. This minimizes travel time and ensures that you comply with local administrative procedures.
-
Nonresident Considerations: If you need to schedule your appointment in a different location, check the local consulate or embassy post websites for specific nonresident wait times (Travel.State.Gov). This can significantly affect your appointment availability and processing time.
-
Urgent Situations: In urgent cases such as medical emergencies, funerals, or school start dates, consulates may expedite interview dates. The exact procedures vary based on location, so it’s advisable to visit the official consulate website or contact them directly for assistance (Travel.State.Gov).
| Appointment Type | Consideration | Link |
|---|---|---|
| Closest to Residence | Convenient and reliable | Indian visa on arrival |
| Different Location | Check nonresident wait times | Indian entry visa |
| Urgent Case | Possible expedited dates | Indian visa helpline |
For comprehensive information about the types and specifications of Indian visas you can apply for, visit our section on types of Indian visas. Also, ensure to review the requirements in Indian visa requirements and Indian visa photo requirements.
Technical Requirements
To successfully schedule your Indian visa appointment, it’s essential to understand the technical requirements for the process.
Website Compatibility
The Indian visa application website (Indian Visa Online) has specific compatibility requirements to ensure a smooth user experience. For the best performance, you should use one of the following web browsers:
- Mozilla Firefox
- Google Chrome
- Internet Explorer (Windows) version 9.0 and above
Additionally, it is imperative to have Adobe Acrobat Reader version 7.0 or higher installed on your PC. The application’s website is also compatible with mobile devices, so you can use Android or iOS platforms to complete your application.
| Browser/Software | Minimum Version Required |
|---|---|
| Mozilla Firefox | Latest |
| Google Chrome | Latest |
| Internet Explorer | 9.0+ |
| Adobe Acrobat Reader | 7.0+ |
| Android | Latest |
| iOS | Latest |
To further mitigate issues, ensure your internet connection is stable and your device software is up to date. Keeping these technical requirements in mind will streamline your Indian visa appointment scheduling experience.
Visa Application Status
Once you have submitted your visa application, it’s crucial to monitor its status. Tracking your application will keep you informed about any additional documents needed or updates on your visa approval. To check the status of your application, follow these steps:
- Visit the Indian Visa Online website.
- Click on the “Visa Enquiry” link.
- Enter your application ID and other required details.
- Click on the “Submit” button to view the status.
| Step | Action |
|---|---|
| 1 | Visit Visa Enquiry |
| 2 | Click “Visa Enquiry” |
| 3 | Enter Application ID and details |
| 4 | Submit to check status |
For additional guidance, refer to the specific Indian Mission’s website relevant to your application, as procedures and processing times can vary. The Indian Mission/Post generally requires a minimum of three working days to process a visa application, depending on the applicant’s nationality and excluding special cases.
To ensure a seamless experience, review the comprehensive steps in our article on the Indian visa application process. This will help you navigate through each stage with confidence and clarity.
Rescheduling and Cancellation
Scheduling an appointment for your Indian visa can be a straightforward process, but sometimes plans change and you may need to reschedule or cancel your appointment. Understanding the limits and policies regarding these actions will help you navigate this process smoothly.
Limits and Policies
When it comes to rescheduling and cancellation of your Indian visa appointment, there are specific guidelines you need to be aware of.
Rescheduling Limits:
- You are allowed to reschedule your visa appointment up to 5 times within a one-year period. If you exceed this limit, you will need to pay the visa application fee again for rescheduling (Quora).
- Be mindful that both cancellations and rescheduling actions count towards the overall limit.
Cancellation Policies:
- If you cancel your appointment and do not reschedule within the permitted number of times, you could lose the fees paid.
- Repeated cancellations without rescheduling may result in being flagged by the system, potentially affecting future booking attempts.
Understanding these limits can save you time and money. If you need more detailed information on how to schedule or reschedule, check our visa application process guide and stay informed about any updates on policies regarding visa appointments.
| Action | Limit | Note |
|---|---|---|
| Rescheduling | Up to 5 times | Within one year; reapplication fee otherwise needed |
| Cancellation | Counts as one | Actions will count toward rescheduling limits |
For more specific cases, contact the Indian visa helpline or refer to the official guidelines. For tourists, business travelers, or medical visitors, policies may slightly differ, so always refer to the most current information relevant to your visa type.
